New Car Prep with Spot Correction and Opt-Coat Installation, Interior Fabric Protection **ENHANCED WRITE-UP INSIDE!**
The owner of this Firestorm 2013 Scion FR-S contacted me prior to taking delivery of his new vehicle looking for a quality prep detail and Opti-Coat installation. I advised him to make sure the dealer did not wash or “detail” the car to ensure swirls and scratches which would require correction weren’t instilled in the paint. Luckily, when he took delivery of the vehicle, the dealer had obliged and left him with fairly pristine paint. A few days later he made the 2.5-hour drive to Lansing from Cadillac, Michigan for the detail to be completed. Since the vehicle arrived only lightly soiled, I will skip the “before” shots and move right along to the work in progress.
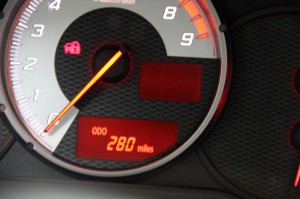
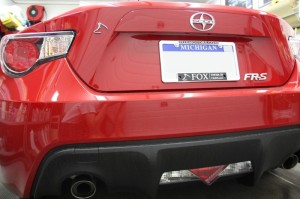
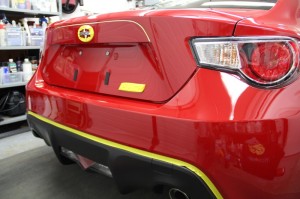
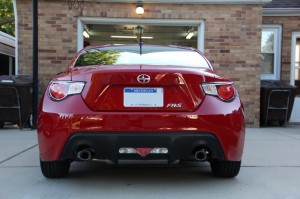
As the car arrived, it had a total of 280 miles on the odometer, and against the owner’s wishes had been turned into a billboard for the dealership:
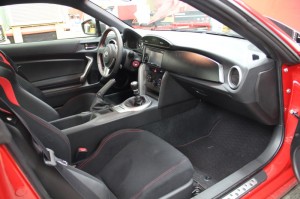
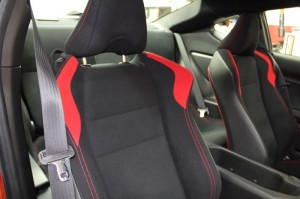
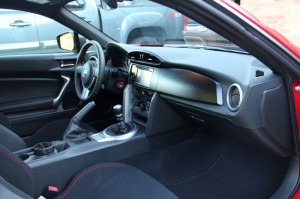
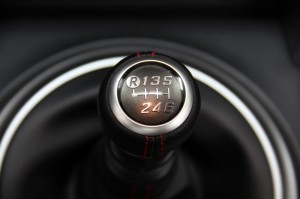
The interior was in basically immaculate condition already, with only a bit of vacuuming required:
After interior fabric protection was applied, the result was fully dialed-in:
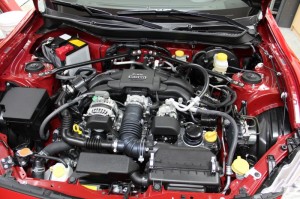
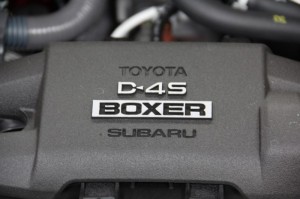
The engine bay was also basically immaculate, requiring only a quick wipe-down of the Toyota-Subaru collaborated 4-cylinder D4S boxer engine:
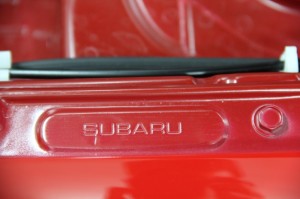
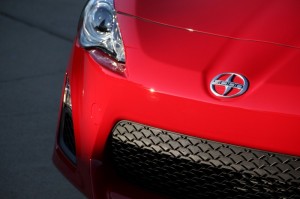
And yes, this SCION (which takes its inspiration largely from the AE86 Corolla) was actually built by Subaru, as evidenced by panel stampings on the front fenders:
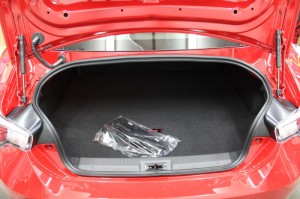
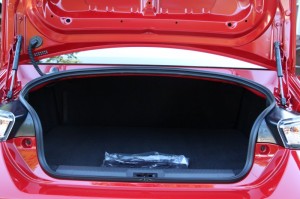
Finally, the Trunk was also vacuumed, and more fabric protection was applied:
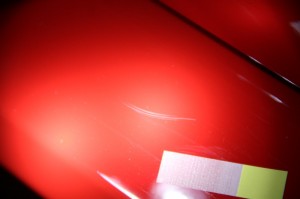
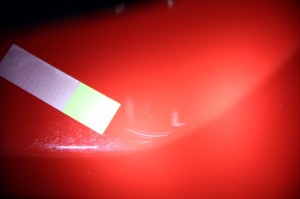
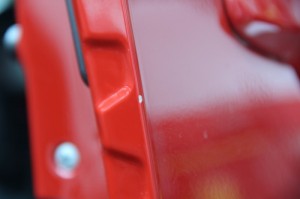
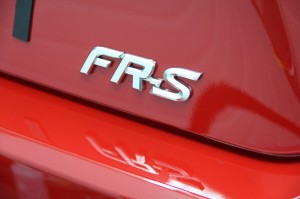
On the outside, only a handful of small defects were worthy of documentation, including two deep scratches on the rear bumper cover, and a small chip on the passenger door edge (unfortunately, I was unable to obtain touch-up to repair the chip):
The defects on the rear bumper turned out to be extremely deep; I was able to significantly reduce, but not completely remove them even by wet sanding with 1500 and 3000 grit papers:
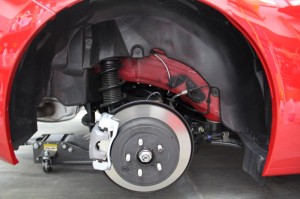
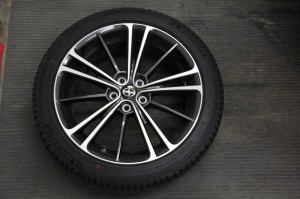
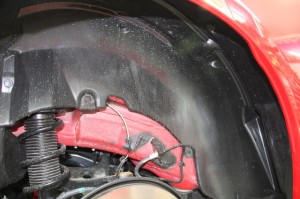
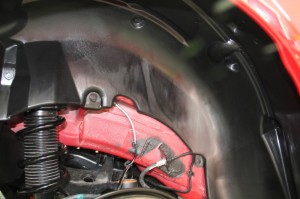
Next, the car was raised with a jack in order to remove, clean, and coat the wheels and wheel wells with Opti-Coat:
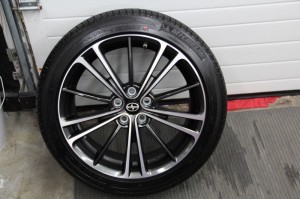
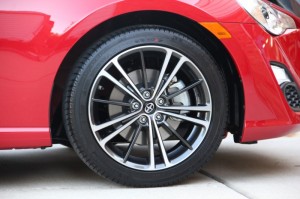
Once the tires were dressed with Premium Custom Detailing’s Tuned Performance Tire and Trim Gel, the wheels were mounted back on the car:
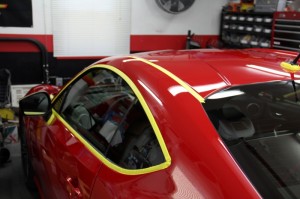
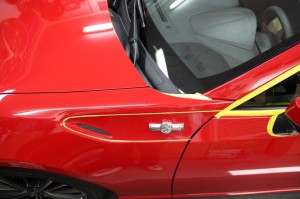
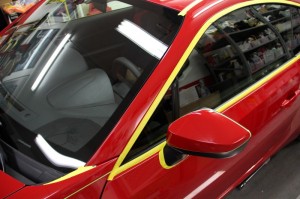
After washing the car (using the Garry Dean Wash Method) and lightly claying with Clay Magic Blue, all trim was masked off to protect it while polishing to enhance gloss with HD POLISH:
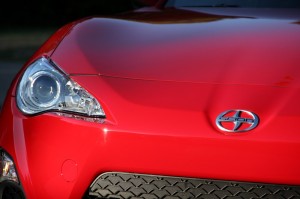
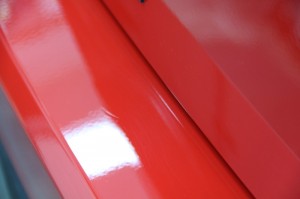
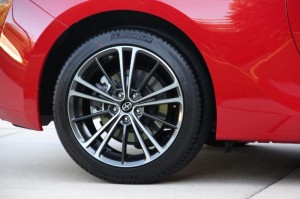
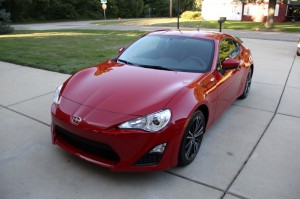
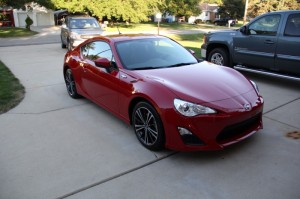
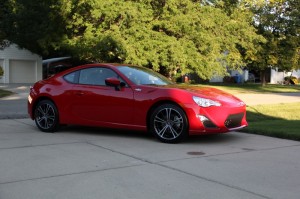
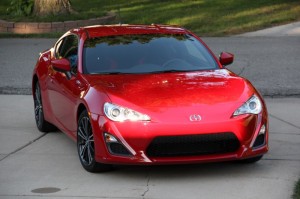
After polishing was complete and the vehicle was re-cleaned using CarPro Eraser, Optimum Opti-Coat was installed to all paint, glass, and trim. The result was outstanding gloss, depth, and wetness, along with long lasting protection of the vehicle’s exterior:
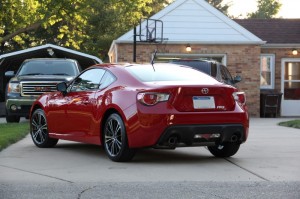
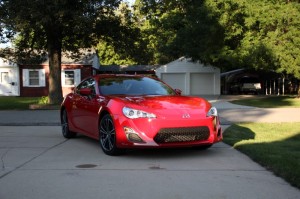
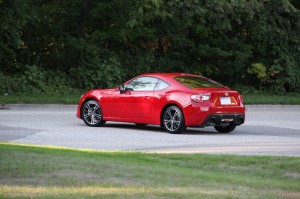
Although I had only limited sun to work with, I did manage to capture two shots, which are probably my favorites of the set because of the unique lighting effect as the sun just barely peeks over the trees on the horizon:
Off into the sunset, another happy customer heads home:
Thanks for looking!


